A DMARC policy tells receiving mail servers what to do with emails that fail SPF and DKIM authentication checks, and it is configured by publishing a single DNS TXT record at _dmarc.yourdomain.com. The three DMARC policy options are p=none (monitor only), p=quarantine (send to spam), and p=reject (block outright). Before you can publish a DMARC record, both SPF and DKIM must already be set up for your sending domain. A complete DMARC TXT record looks like this: v=DMARC1; p=reject; rua=mailto:dmarc@yourdomain.com; ruf=mailto:dmarc@yourdomain.com; adkim=r; aspf=r; pct=100.
We spend a lot of time helping email marketers fix deliverability problems, and spoofing is one of the sneakier ones. Someone sends email pretending to be you, your domain reputation takes the hit, and your real campaigns start landing in spam. DMARC policy configuration is the technical fix for that exact problem. This guide walks through every step, from prerequisites to ongoing monitoring.
What Is a DMARC Policy and How Does It Protect Your Domain?
A DMARC policy is an email authentication instruction published in DNS that tells receiving servers how to handle messages claiming to come from your domain when those messages fail SPF or DKIM verification. Without a DMARC policy in place, anyone can send email using your domain name and most mail servers will deliver it without question.
The threat is real and measurable. According to the FBI's Internet Crime Complaint Center 2025 annual report, total cybercrime losses hit $20.877 billion, a 26% jump over 2024. Phishing and spoofing made up the largest single complaint category, with 191,561 reports filed that year. That is not an abstract risk. It is people using your domain to run scams while you take the reputational damage.
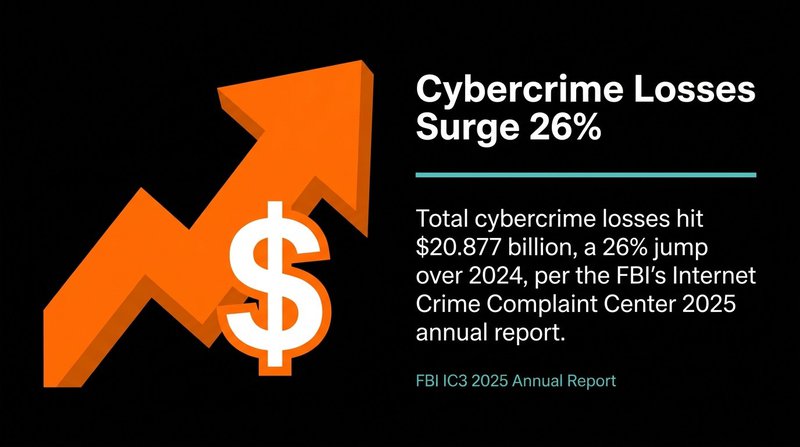
Cybercrime losses surged 26% to $20.877B in 2025 (FBI IC3).
DMARC works alongside SPF and DKIM to close that gap. SPF checks whether the sending server is authorized to send on behalf of your domain. DKIM verifies the message has not been tampered with in transit. DMARC ties both checks together and specifies what happens when either one fails. It also generates reports so you can see exactly who is sending email using your domain.
The adoption numbers tell a painful story. According to Red Sift's analysis of 73.3 million domains, only 14.9% had implemented any DMARC policy at all, and just 2.5% enforced p=reject. The gap between "has a DMARC record" and "actually blocks spoofing" is enormous. This guide gets you to the right end of that gap.
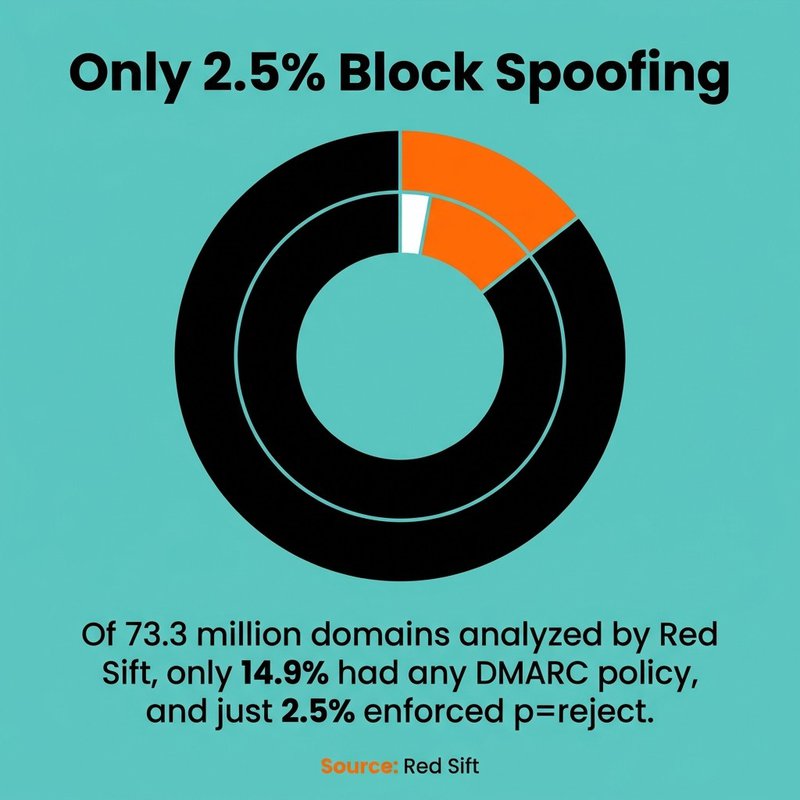
Only 2.5% of domains enforce p=reject, despite 14.9% having any DMARC at all (Red Sift).
Prerequisites: Set Up SPF and DKIM Before Configuring DMARC
SPF and DKIM must both be active and passing before you publish a DMARC record, because DMARC alignment depends on at least one of them succeeding for each message.
Start with SPF. An SPF TXT record lists every server authorized to send email from your domain. Publish it at your root domain in DNS. A basic record looks like this:
v=spf1 include:_spf.google.com include:sendgrid.net ~all
The ~all at the end means "soft fail" anything not listed. Once you move DMARC to p=reject, consider switching to -all for a hard fail. Add every third-party sender your domain uses, including your ESP like Mailchimp, HubSpot, or ActiveCampaign. Missing a legitimate sender here will cause authentication failures when DMARC enforcement is active.
DKIM adds a cryptographic signature to outgoing messages. Your email platform generates a public/private key pair. You publish the public key as a TXT record in DNS, typically at a selector like selector1._domainkey.yourdomain.com. The sending server signs each message with the private key, and receiving servers verify it using your published public key.
Verify both are working before you touch DMARC. Send a test email to a MXToolbox mailbox or use Google's message header analyzer to confirm SPF passes and DKIM shows a valid signature. If either is broken, fix it first. A misconfigured DMARC record pointing at broken SPF or DKIM will start failing legitimate email the moment you move past p=none. Our guide on email deliverability for marketers covers the full authentication stack in more detail.

DMARC TXT Record Syntax: Tags and Values Explained
A DMARC TXT record is published at the hostname _dmarc.yourdomain.com and must begin with v=DMARC1 followed by a series of tag-value pairs separated by semicolons.
Here is a full example with all commonly used tags:
v=DMARC1; p=reject; sp=quarantine; rua=mailto:dmarc@yourdomain.com; ruf=mailto:dmarc@yourdomain.com; adkim=r; aspf=r; pct=100; fo=1
The following table explains each tag:
| Tag | Required? | Description | Example |
|---|---|---|---|
| v | Yes | Protocol version, always DMARC1 | v=DMARC1 |
| p | Yes | DMARC policy for the root domain | p=none, p=quarantine, p=reject |
| sp | No | DMARC policy for subdomains | sp=reject |
| rua | No | Address for aggregate reports | rua=mailto:dmarc@yourdomain.com |
| ruf | No | Address for forensic reports | ruf=mailto:dmarc@yourdomain.com |
| adkim | No | DKIM alignment mode | adkim=r (relaxed), adkim=s (strict) |
| aspf | No | SPF alignment mode | aspf=r (relaxed), aspf=s (strict) |
| pct | No | Percentage of messages to apply policy | pct=25 |
| fo | No | Forensic report options | fo=1 |
The only two mandatory tags are v and p. Everything else is optional, but skipping rua means you will get no aggregate reports, which makes monitoring impossible. Always include it.
The Three DMARC Policy Options: None, Quarantine, and Reject
The DMARC policy value in the p tag controls what receiving mail servers do with messages that fail authentication, and choosing the right policy for your current stage of deployment is the most important decision in this whole process.
p=none: The Monitoring DMARC Policy
p=none instructs receiving servers to deliver messages normally regardless of DMARC failure. No messages are blocked or quarantined. The only output is aggregate and forensic reports sent to the addresses you specify in rua and ruf.
This is your starting point. Always. It lets you see which sources are sending email on your domain's behalf without risking legitimate email delivery. You will often discover that a forgotten ESP, an automated notification system, or a third-party form tool is sending email from your domain that you did not know about. If you skip p=none and jump straight to p=reject, those messages disappear and no one knows why.
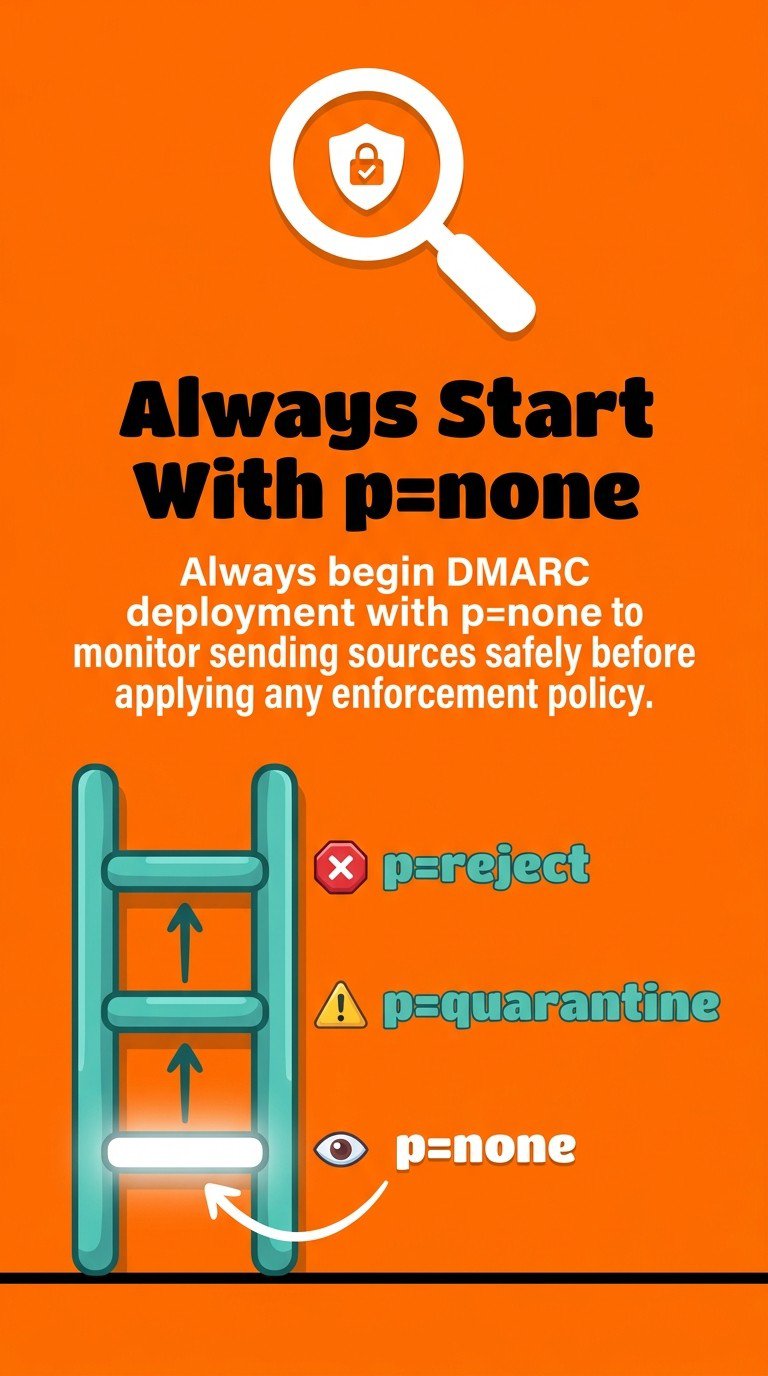
Start with p=none to monitor safely and discover all senders before enforcing.
p=quarantine: The Filtering DMARC Policy
p=quarantine tells receiving servers to route failing messages to the spam or junk folder rather than the inbox. Messages are not rejected outright. They land somewhere, just not the inbox.
This is the middle step. Move to p=quarantine after you have reviewed your aggregate reports, confirmed all legitimate sending sources pass authentication, and added any missing SPF includes or DKIM selectors. The pct tag is useful here. Setting pct=25 means only 25% of failing messages get quarantined under this DMARC policy, giving you a controlled rollout.
p=reject: The Enforcement DMARC Policy
p=reject is the only policy that actually blocks spoofing. Receiving servers discard messages that fail DMARC authentication outright. They never reach any folder. This is the goal for every domain that sends email regularly.
After the U.S. government's Binding Operational Directive BOD 18-01 required all federal civilian agencies to enforce DMARC at p=reject, EasyDMARC's data showed that the U.S. reduced successful spoofed email delivery from 69% to 14%. That is what enforcement-level DMARC policy actually achieves in practice. The number is not theoretical.
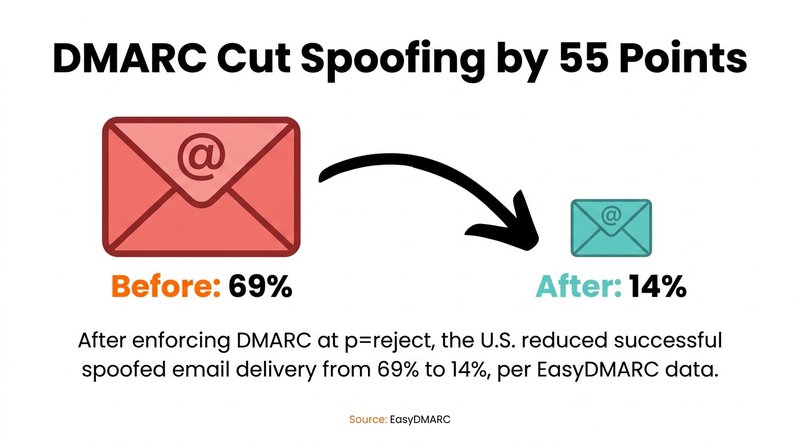
Enforcing p=reject cut spoofing success from 69% to 14% (EasyDMARC).
Step-by-Step: How to Add a DMARC Record in DNS
Adding a DMARC record in DNS requires access to your domain registrar or DNS hosting provider, a text editor, and roughly ten minutes once your SPF and DKIM prerequisites are confirmed.
Work through these steps in order:
- Log in to your DNS provider. Common providers include Cloudflare, GoDaddy, Namecheap, and Route 53. Navigate to the DNS management section for your domain.
- Create a new TXT record. Set the hostname to _dmarc (some providers require the full _dmarc.yourdomain.com). Set the record type to TXT.
- Paste your DMARC TXT record value. Start with a monitoring record: v=DMARC1; p=none; rua=mailto:dmarc@yourdomain.com. This DMARC policy will not block anything yet.
- Set TTL. A TTL of 3600 (one hour) is standard. Lower values allow faster propagation when you update the record later.
- Save the record. DNS propagation typically takes between a few minutes and 48 hours, though most resolvers pick up changes within an hour.
- Verify the record published correctly. Use MXToolbox's DMARC lookup or Google's toolbox to query _dmarc.yourdomain.com and confirm the record appears as expected.
One record per domain. If you already have a DMARC TXT record published, edit the existing one rather than creating a second. Duplicate DMARC records cause lookup failures. If you run a separate sending domain for transactional email, that domain needs its own DMARC record at its own _dmarc hostname. Our breakdown of why emails go to spam covers what happens when these technical pieces are missing.
DMARC Alignment: Strict vs. Relaxed Mode for SPF and DKIM
DMARC alignment determines how closely the domain in the visible From address must match the domain used by SPF and DKIM, and it is the mechanism that closes the gap between "passes SPF" and "actually comes from you."
Most people set this up and never think about it again. That is fine when it works. But when DMARC is failing for messages you know are legitimate, alignment is usually the cause.
SPF Alignment
SPF alignment compares the domain in the message's From header with the domain in the MAIL FROM envelope address used during SMTP delivery. In relaxed mode (aspf=r), the organizational domain must match. So mail.yourdomain.com in the envelope aligns with yourdomain.com in the From header. In strict mode (aspf=s), the domains must match exactly.
Relaxed is the right default for most senders. Strict mode causes failures when a subdomain handles sending but the From address shows the root domain, which is a very common setup.
DKIM Alignment
DKIM alignment compares the domain in the From header with the d= domain in the DKIM signature. Again, relaxed mode (adkim=r) allows subdomain matches. Strict mode (adkim=s) requires an exact match.
When an ESP signs your email with their own DKIM key under their domain rather than yours, DKIM alignment will fail regardless of the mode. The fix is to configure a custom DKIM domain in your ESP so they sign using your domain, not theirs. This is standard in platforms like Klaviyo, Brevo, and GetResponse. Check your ESP's DNS setup documentation before escalating DMARC policy.
Subdomain Policy with the sp Tag
The sp tag sets a separate DMARC policy for all subdomains not covered by their own DMARC record. If your root domain is at p=reject but you want subdomains at p=quarantine during a phased rollout, set sp=quarantine in your root domain's DMARC TXT record. Parked domains that send no email at all should be set to sp=reject to prevent spoofing through subdomain variants.
Gradual DMARC Rollout Strategy: From Monitoring to Enforcement
A gradual DMARC rollout follows a defined sequence from p=none through p=quarantine to p=reject, using aggregate reports and the pct tag to control the pace of enforcement.
Jumping straight to p=reject is the most common DMARC mistake we see. It blocks legitimate email from senders you forgot to authenticate, and the damage can take days to diagnose. The phased approach takes a few weeks longer but eliminates that risk entirely. It is worth the patience.
Phase 1: Monitor with p=none
Publish your initial DMARC TXT record with p=none and an rua address to collect aggregate reports. Run this for two to four weeks. Read the reports. Identify every source sending email from your domain. Confirm each one has valid SPF authorization and a working DKIM signature aligned to your domain.
Do not rush past this phase. Aggregate reports arrive daily as compressed XML files. Use a DMARC report analyzer (more on that below) to make them readable. Fix every failing source before moving on.
Phase 2: Enforce Gradually with p=quarantine and pct
Once your reports show high DMARC pass rates across legitimate sources, update your DMARC record to p=quarantine; pct=10. This DMARC policy applies quarantine treatment to only 10% of failing messages. Watch your aggregate reports for a week. If legitimate email is not dropping, raise pct to 50, then 100. Each step gives you a chance to catch any sources you missed.
The pct tag works only with p=quarantine and p=reject. A pct=100 value is equivalent to omitting the tag entirely. And yes, p=none; pct=10 is technically valid syntax but meaningless since p=none takes no action anyway.
Phase 3: Full Enforcement with p=reject
When p=quarantine; pct=100 has run cleanly for one to two weeks with no legitimate email failures, update the DMARC record to p=reject. This is full enforcement. Unauthenticated email claiming to come from your domain is rejected at the receiving server before it reaches any folder.
EasyDMARC's 2026 adoption data shows enforcement-level DMARC policies grew from 233,249 domains in 2023 to 411,935 in 2026. That growth tracks directly with major mailbox providers making authentication a delivery requirement. The domains not in that count are still sending unprotected. Getting your domain warmed up and authenticated properly before enforcing DMARC is covered in our domain warm-up best practices guide.
How to Monitor and Analyze DMARC Reports
DMARC generates two types of reports: aggregate reports delivered via the rua tag and forensic reports delivered via the ruf tag, and reading them regularly is what separates a working DMARC setup from one that slowly drifts out of compliance.
Aggregate reports arrive as daily XML files from each major mailbox provider that processes your email. They show sending sources, message volumes, SPF and DKIM pass/fail counts, and DMARC policy disposition. They do not contain message content. Forensic reports, on the other hand, include redacted copies of individual failing messages and are used to diagnose specific failures. Not all providers send forensic reports due to privacy concerns, so do not rely on them as your primary monitoring tool.
Reading Aggregate Reports
Raw DMARC aggregate reports are XML files compressed with gzip. Nobody reads them raw. Use a report analyzer to parse and visualize them. Free options include MXToolbox's DMARC report analyzer and dmarcian's free tier. Paid platforms like dmarcian, Valimail, and EasyDMARC offer historical tracking and alerting at scale.


Look for three things in your aggregate reports: sources with low DMARC pass rates, new sending sources you did not expect, and any increase in failure volume over time. An unexpected source with high volume usually means a third-party service has started sending on your behalf without proper SPF or DKIM setup.
Acting on Report Data
For each failing source identified in your aggregate report, do one of the following: add the source's sending IP or include directive to your SPF record, configure DKIM signing in the relevant platform, or if the source is unauthorized, confirm your DMARC enforcement level will block it going forward.
DMARC policy compliance is not a one-time task. New vendors get added. ESPs change their sending infrastructure. Someone connects a new tool to your marketing stack. Set a recurring calendar reminder to review aggregate reports monthly once you reach p=reject. It takes fifteen minutes and it keeps your email authentication tight. If you want to close the loop on list quality at the same time, our email validation best practices guide covers how clean lists and strong authentication work together.
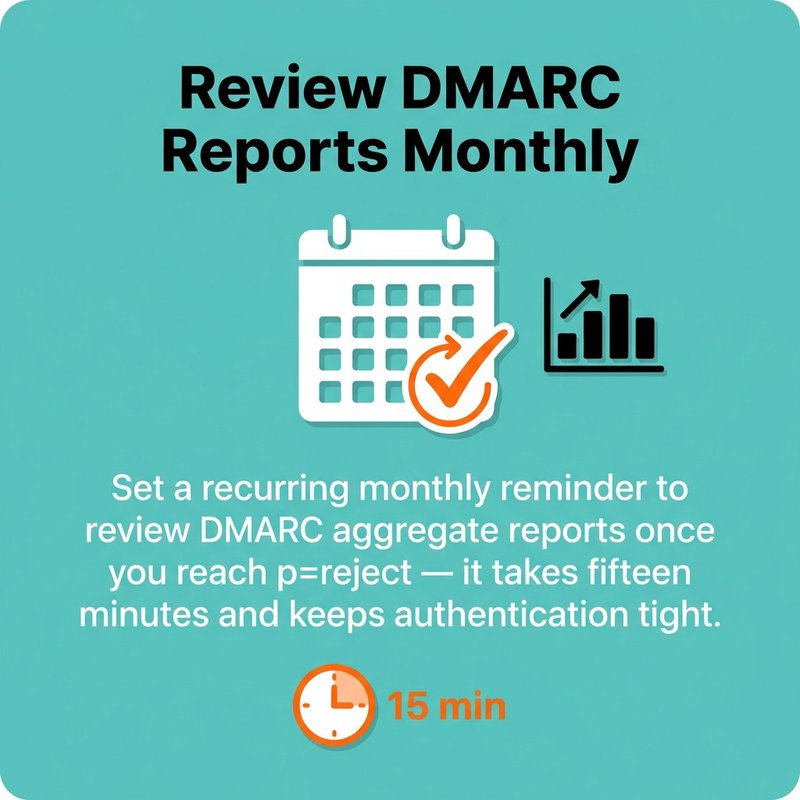
Review DMARC aggregate reports monthly after reaching p=reject to keep authentication tight.
The whole DMARC setup process, from publishing your first p=none record to reaching full p=reject enforcement, usually takes four to six weeks when done properly. That is not long. And the protection it gives your domain, your recipients, and your sender reputation is permanent as long as you keep the record in DNS and stay on top of the reports.
No comments:
Post a Comment